Congrats! You’ve just found the scroll of wisdom that unveils all the wonders of Wrike. Some of these tips may be familiar to you, and others look like an astonishing discovery, but all of them serve the same goal — to increase your productivity and the convenience of using Wrike. So look through this list and learn more about what Wrike can do for you.
Collaboration tips: A friend in need is a friend indeed
1. Use @ to invite teammates to discussions
In the comments, add the @ symbol, followed by the person’s name. No matter if the person follows the task or not, he or she will immediately receive an e-mail with your comment and can instantly reply with an answer.
Tip’s details
2. Invite colleagues to follow a specific task
People who follow a task see each and every update in the Activity Stream and can optionally receive notifications via email. If you want someone to keep a close eye on a task, look for the “Follow” button in the task actions panel.
Tip’s details
3. Invite your teammates to follow the folder
This way, you’ll draw their attention to all of the tasks in a specific folder. The chosen follow option automatically applies to all the subfolders and tasks in this folder, so you may decide to change them for each subfolder. If you’d like to stop tracking task updates for a particular subfolder, choose “Ignore” in its follow options.
Tip’s details
4. Share your workspace with your team
Your entire workspace is not automatically shared with anyone. Others see your project plans in Wrike only if you have shared your tasks and folders with them. If you want to have a location shared with all of your peers, create a folder (e.g., "MyCompanyName"), move all other folders there and then share it with your whole team.
Tip’s details
Efficiency tips: Time is money
1. Track project updates on the go
Install the mobile app on your iPhone or Android and take Wrike with you wherever you go, and invest in tools for remote teams in your organization.
2. Edit multiple tasks at once
In the task list, tick the checkboxes to the left of the avatars to make bulk edits to the chosen tasks. You can mark them complete, convert to backlog, move to another folder, reassign, reschedule or delete them.
Tip’s details
3. Track your time
Keep track of every minute spent on your tasks with a built-in timer. When the tracker is on or paused, it stays within eyeshot at the top of the workspace wherever you navigate. Once you put a timer on, an update about this activity will appear in the Activity Stream. This way you'll keep peers who “walk by” in the loop of your progress.
Tip's details
4. Cross-link tasks and projects
Click “permalink” in the task actions panel to get a direct link to the task. Then paste it to another task description or in the comments, and it will automatically appear as the task name. To get a direct link to a folder, go to the "Folder info" and click on "Permalink".
Tip’s details
Email tips: Magic bullet for your email chaos
1. Email a task into several folders
Put the folders’ titles in square brackets in the subject line of your email and separate them from each other with a comma. For example, [Marketing, Tradeshow]. Don't forget to add [email protected] to the recipients! Super-important for those who use folders as tags.
Tip’s details
2. Update a task via email
Reply to the change notification about a task from Wrike, and your answer will be added as a comment to the task’s Activity Stream. If there are any attachments to the email, they will be automatically attached to the task in Wrike.
Tip’s details
3. Fine-tune received email notifications
There are two options available: 1) Check and adjust the follow settings of tasks and folders to ensure you’re tracking only important items. 2) Set the email notification frequency. By juggling these two factors, you may optimize the number of notifications and still stay on top of your projects.
Tip’s details
4. Edit tasks from your inbox
Install Wrike’s Outlook add-in or our Apple Mail add-in and get Wrike’s task view right in your inbox. Tip’s details for Outlook users and Mac users.
5. Leverage your Gmail with Wrike's gadget
If you use Wrike as a Google app, pay special attention to the Gmail gadget that brings Wrike to your inbox. By default, Gmail’s Wrike gadget is switched on for all Google Apps users, but your domain administrator can remove it for you if you want.
Tip’s details
Search tips: Seek and you shall find
1. See tasks included in two folders at once
First, choose one of the folders in the left-hand pane. Then in the middle pane type the second folder’s name into the search field in the following format: folder: name. So you’ll see tasks included in two folders at once.
Tip’s details
2. Narrow the range of search
When you type your query in the search field, by default it will be searched in all task titles and descriptions. To find a task by a keyword only in the task title, description or comments, use the commands title:keyword, description:keyword or comment:keyword accordingly.
3. Search files by name or extension
The command file:keyword allows you to easily find task attachments containing the keywords in their name or extension. For example, find all “jpg” files attached to any task by typing file:jpg in the search field.
4. Use asterisks and quotation marks
Use * in the query to search tasks by a part of the keyword. For example, creat* will find you all tasks containing “creat,” such as create, creative, etc. If your search query contains two or more words, put quotation marks around them (e.g., “smart solutions”). This way, you’ll search for the exact phrase in the task description or title. The command comment:“smart solutions” searches tasks containing the exact phrase “smart solutions” in the comments.
5. Search tasks assigned to you
To find all tasks created by you or assigned to you, just write #xme in the search field. If it happens that you need a list of tasks that are not assigned to you, then use the command #notme. Want to search in subfolders, too? Simply click on the "Descendants" button.
Tips for managers: Organize and succeed
1. See backlogged tasks on the workload view
By default, only scheduled tasks are in the workload view. Press the "Show Backlog" button in the top right-hand corner to see all tasks that have no due date.
Tip’s details
2. Create a series of repeating tasks
Click on "Make task recurrent" in the task actions panel. In the pop-up dialog window, specify the recurrence pattern, select the recurrence time range and click on "Save."
Tip’s details
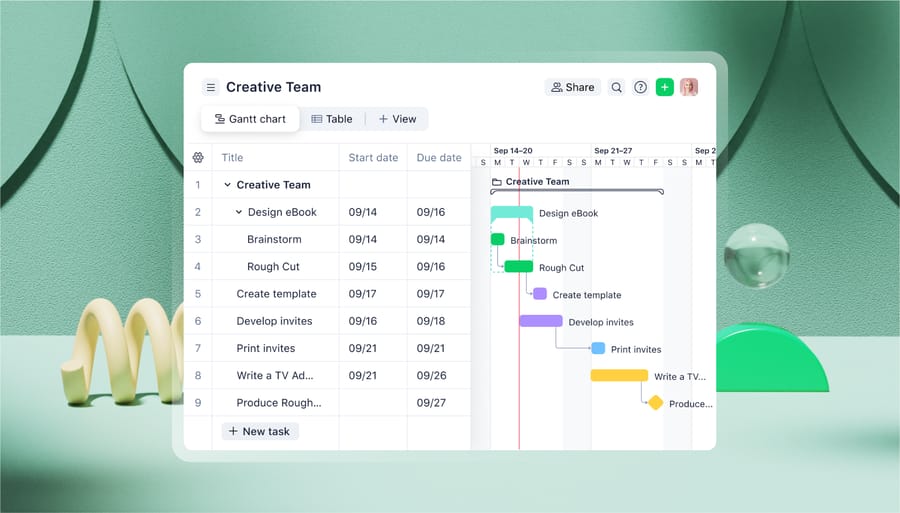
3. Create a new task on the Gantt chart or workload view
There is no need to switch from the Gantt chart or the workload view to create new tasks. Just hold the "Shift" key and the left mouse button, and pull your mouse to the right.
Tip’s details
4. Create dependencies and lags between tasks
Build even more complex project schedules with the help of different types of task dependencies on the Gantt Chart. For extra accuracy in project schedules, you may create a task date constraint. Just drag the dependent task on the timeline to the proper start date.
5. Adjust time reports
Fine-tune your time reports by changing the order of columns and choosing which of them you'd like to see in your report.
Tip’s details
6. Slice and dice your data with filters to keep full control of your tasks
A wise use of filtering options allows you to check out your team’s weekly results, monitor tasks due this week, adjust schedule hitches, overview important events, pick up valuable ideas and much more.
Tip’s details
Folder tips: For experienced Wrikers only!
1. Add custom statuses
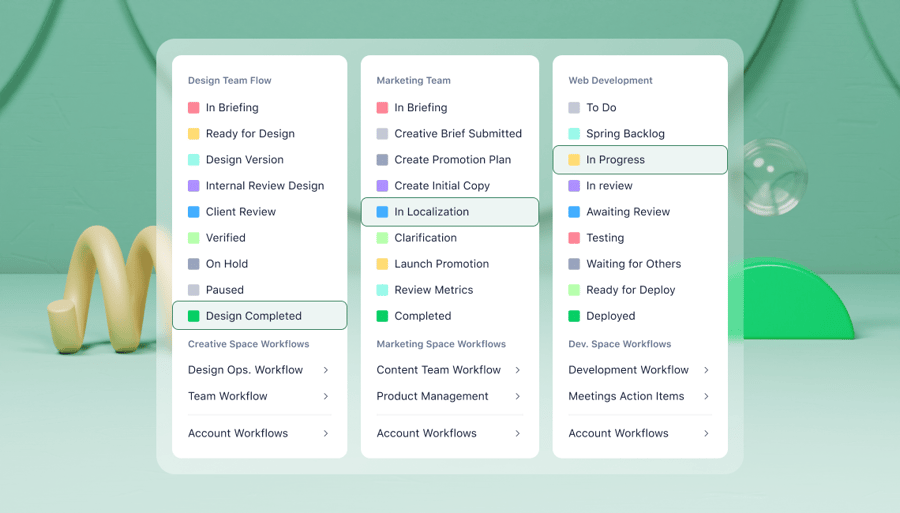
Bug tracking, life cycle management, approval processes, etc. often require tasks marked with customized statuses (e.g., “Closed,” “Opened,” “Resolved,” etc.) In this case, create folders with the corresponding names and put the relevant tasks there.
Tip’s details
2. Tag tasks and folders
The function of tags is assigned to folders in Wrike. Tags are extremely useful for organizing your tasks so that it is easy for everyone on your team to find the data they need. You can move tasks from one folder to another to change tags and include a task in several folders to assign several tags at once.
Tip’s details
3. Use folders as project templates
This is a huge time-saver if you have a lot of similar projects. You simply create a new folder, say "Client order," and duplicate it with its milestones, tasks and subfolders in just a few seconds the next time you receive a new order.
Tip’s details
4. Include a task or folder in several folders
A task or a folder in Wrike can be put in as many folders as you need. For example, a task called “Trade show in New York” may be included in the folders called “Marketing” and “Upcoming events,” and it will be the same task, not a copy. This lets you have different views of the same piece of work and easily adapt Wrike to any workflow.
Tip’s details
5. Sort tasks in a folder
By default, your tasks are sorted by due date. Feel free to change the sorting criteria and choose an option among title, status, importance, start date and priority.
Tip’s details
6. Change the color of folders
Highlight the most important folders with colors so that they can be easily found. The “person” icon is particularly useful for indicating folders with leads.
Tip’s details
7. Attach a file to a folder
In addition to attaching files to tasks, you can attach files to folders, so you can keep your file base at the folder level.
Tip’s details
Download the list in pdf format.