How to build a Product Roadmap Template
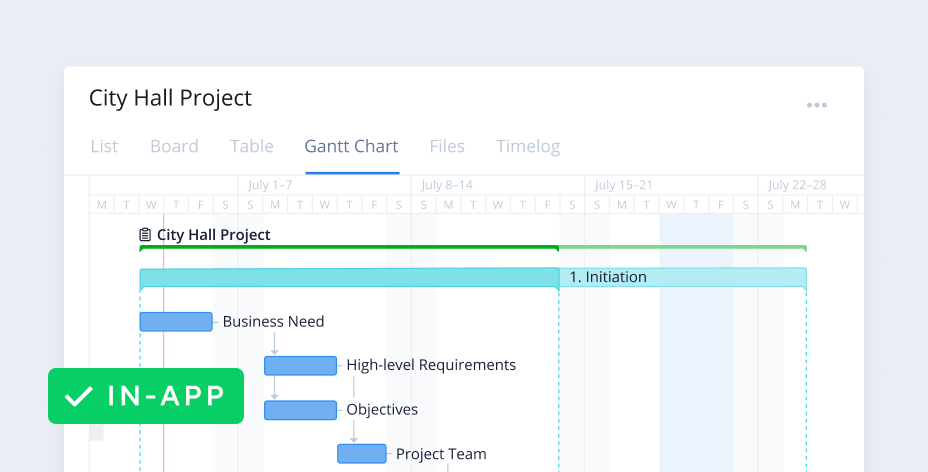
 in Wrike
The guide will show you how to:
- Organize your product development by team, quarter, and other tags
- Add custom fields to help prioritize and filter features
- Create custom statuses to show progress
- View the project as a Gantt chart to visualize the timeline
Organize your project
Start by creating a folder for either your product or your product team. Within that folder, make folders for each quarter or other units of time depending on the speed of development. In each of these folders, create new projects for releases and fill them with the deliverables and steps for completion as tasks.
Track specific metrics through custom fields
To track and report on specific metrics for your development, you can use custom fields.
When data is entered in a custom field, it’s visible in the Table view, Task view, and folder and project info panels. Use share settings to keep custom field data private, or share fields with teammates to keep everyone on the same page.
To create a custom field:
1. Select a folder or project from the left navigation panel in the workspace.
2. Switch to Table view.
3. Click the + sign that appears on the right side of the table.
4. Type in a name for your new field and press Enter on your keyboard.
- Specify field properties on the pop-up that appears. You have options to:Edit the field name
- Choose a field type
- Select where to apply your custom fields
- Designate who the field should be shared with
5. Click Save.
Once you've built your custom fields, view your project and all its components using the Table view in order to see all the details in a familiar spreadsheet layout.
Some ideas for custom fields to help with your product roadmap could include:
- Team
- Lead
- Priority level
- Type of release
- Projected revenue
Create a custom workflow to indicate status
Account admins on Business and Enterprise plans can create a custom workflow.
1. Click your profile image in the upper-right corner of your workspace.
2. Select Account Management.
3. Switch to the Workflow tab. You’ll see a list of all workflows in the account.
4. Click + New workflow.
5. Enter your new workflow’s name. By default, it has the same status in the Active and Completed workflow categories.
- Add statuses to your workflow: Click + Add Status at the bottom of any workflow group, enter its title, and select a color for that status.Some statuses you may want to include are:In production
- Backlogged
- Released
- Rename, delete, or change a status color by clicking on that status.
6. Drag and drop statuses to arrange them in the order that makes the most sense for your team. The order you choose here is the order that they’ll appear in a task’s dropdown status menu.
7. Click Save in the upper-right corner.
When you create a new workflow, it becomes immediately available for all team members to see and use.
Change your project’s workflow:
- Right-click on your project’s name from the workspace’s left navigation panel.
- Hover over Change workflow on the drop-down menu.
- Select the workflow you would like to apply.
See the roadmap as a Gantt chart
To get a visual overview of the product roadmap, click on the folder containing your project in the folder tree on the left, and then click on the Gantt Chart view. This displays the project and all tasks and dependencies on an interactive and dynamic timeline. You can focus on one phase or view the entire project. To adjust the length of any task, simply drag the due-date marker. Milestones are fixed and must be rescheduled independently.